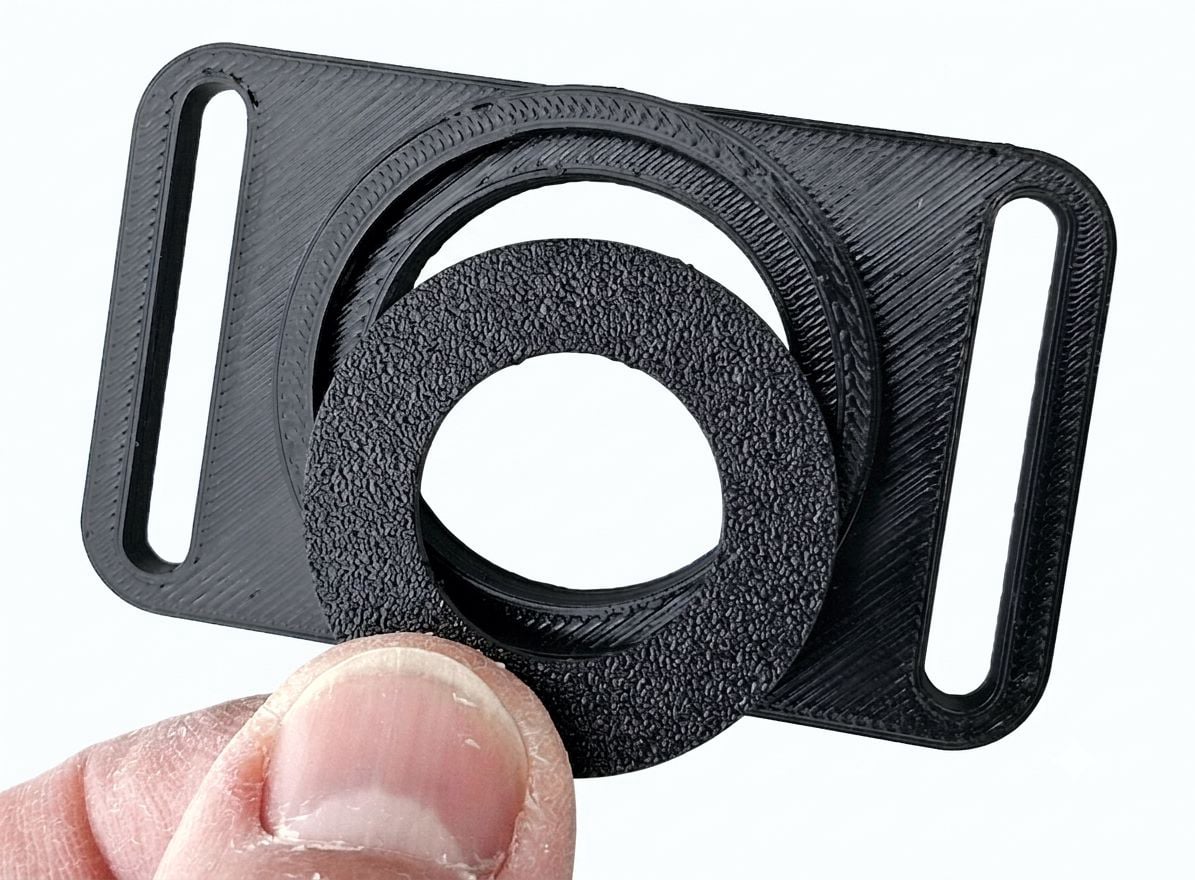
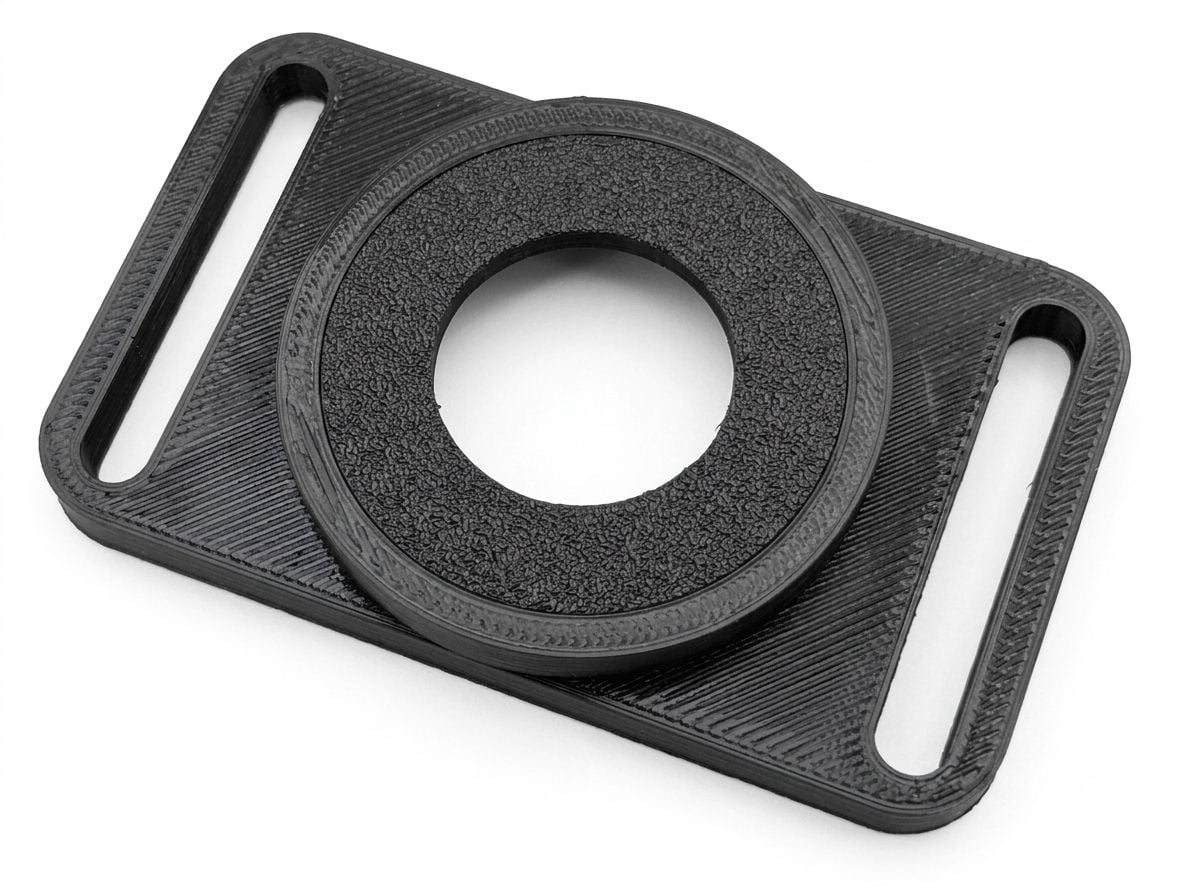
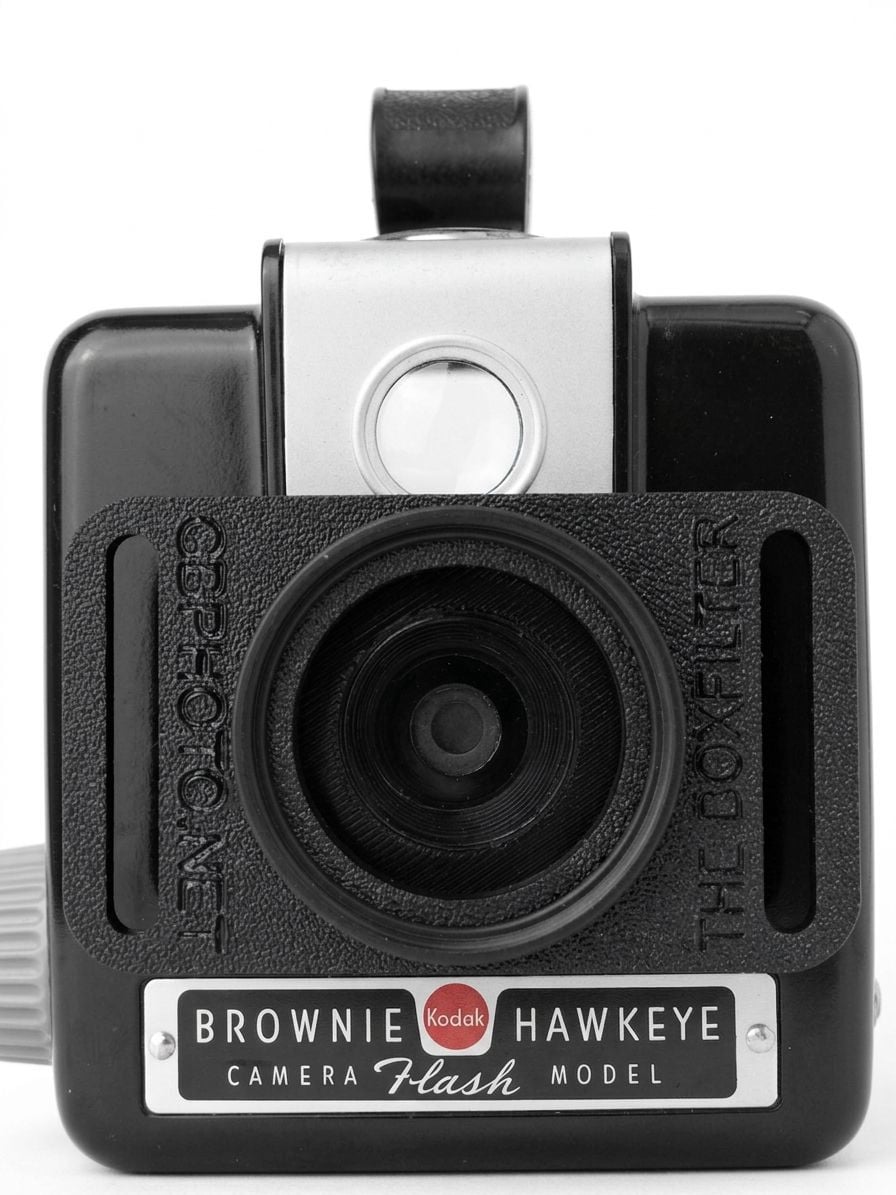
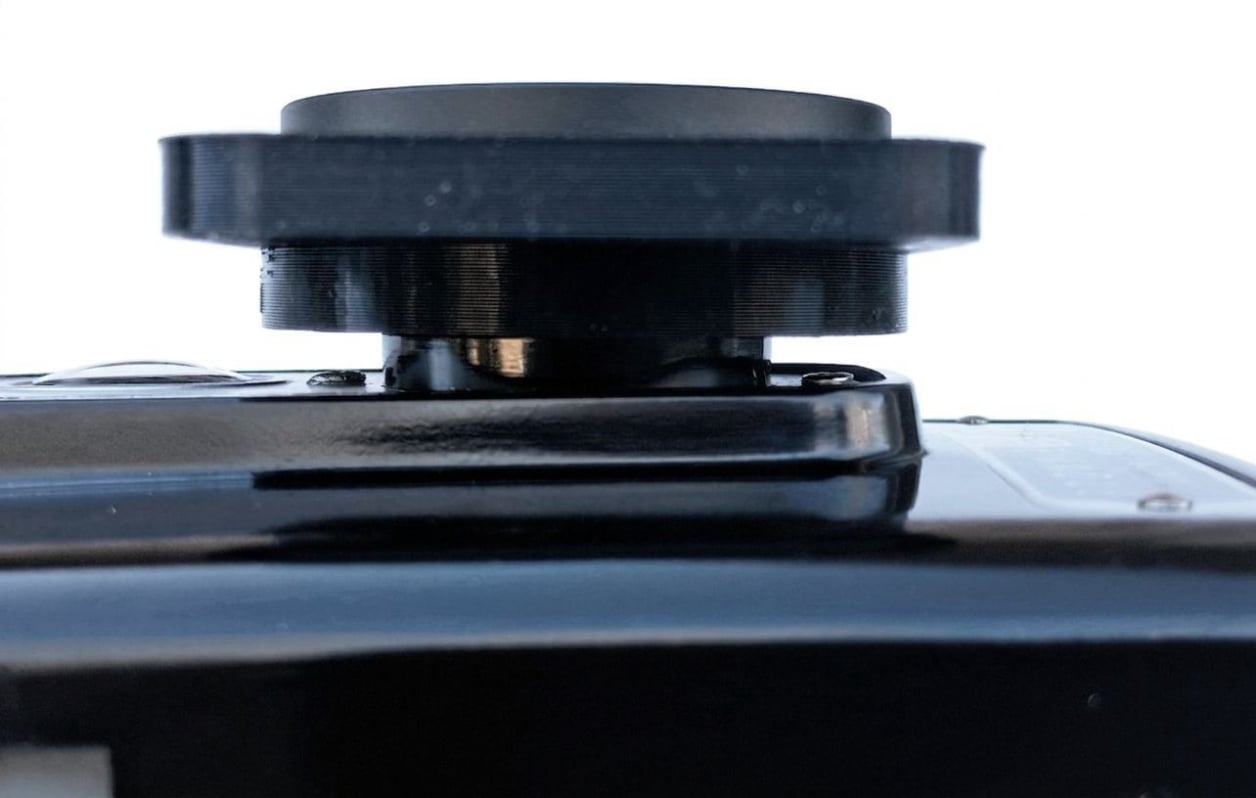
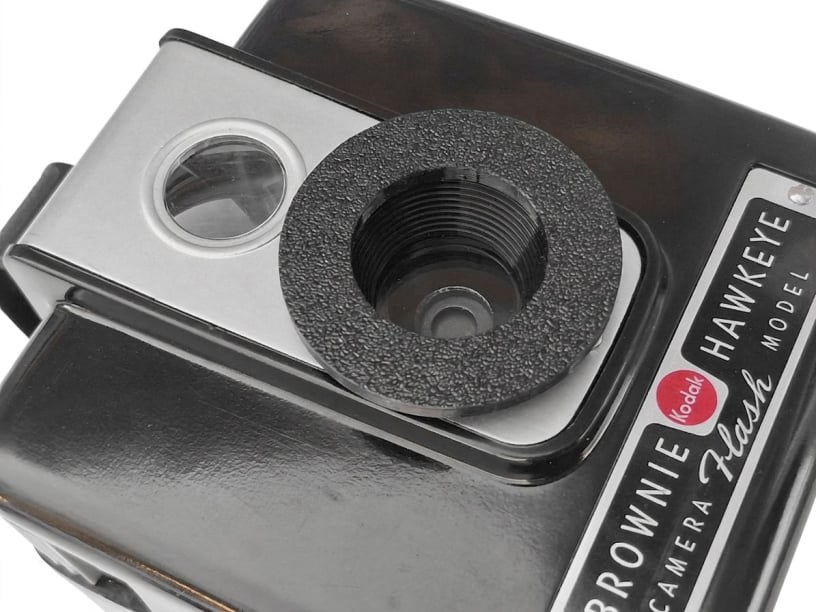
Spacer 2 with the smaller hole may work as-is on cameras with very small lens openings. However, it was provided as an extra, so that it can be cut to the proper size for your camera if necessary.
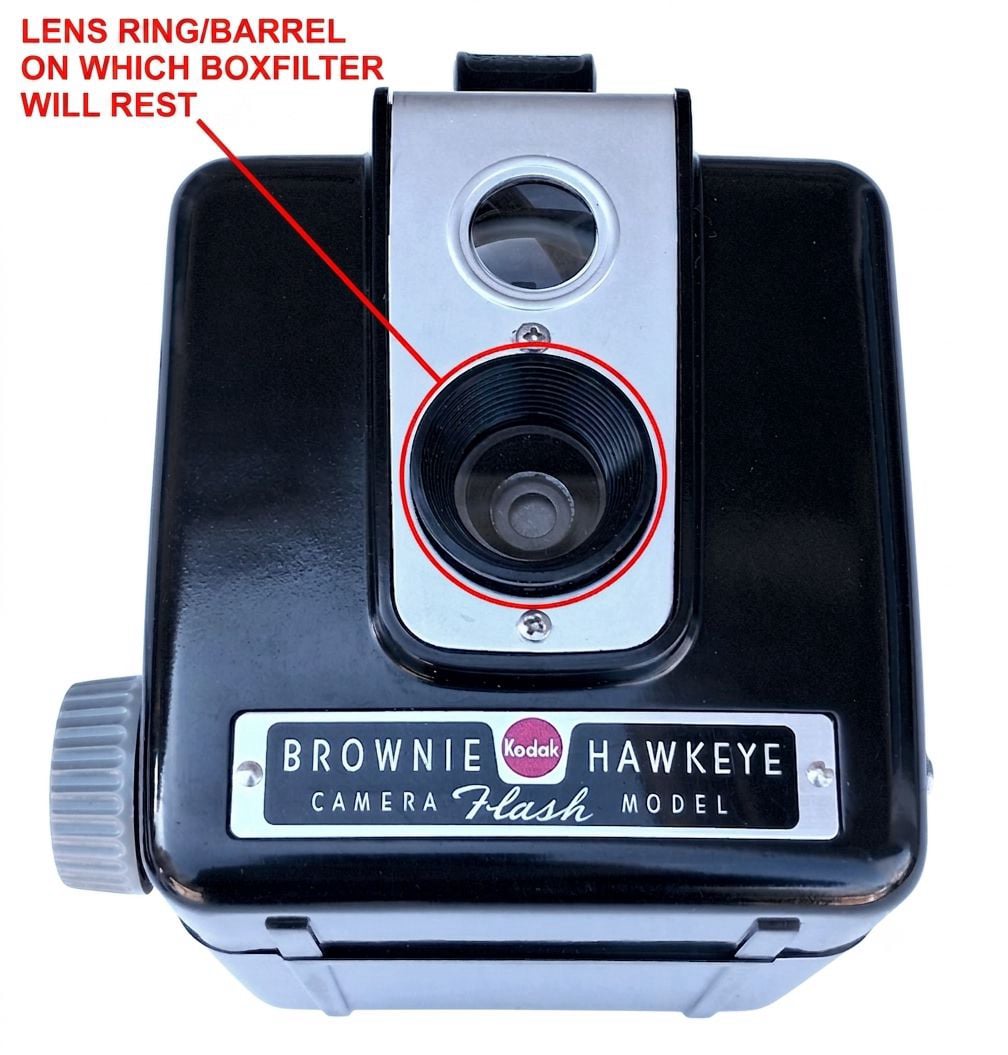
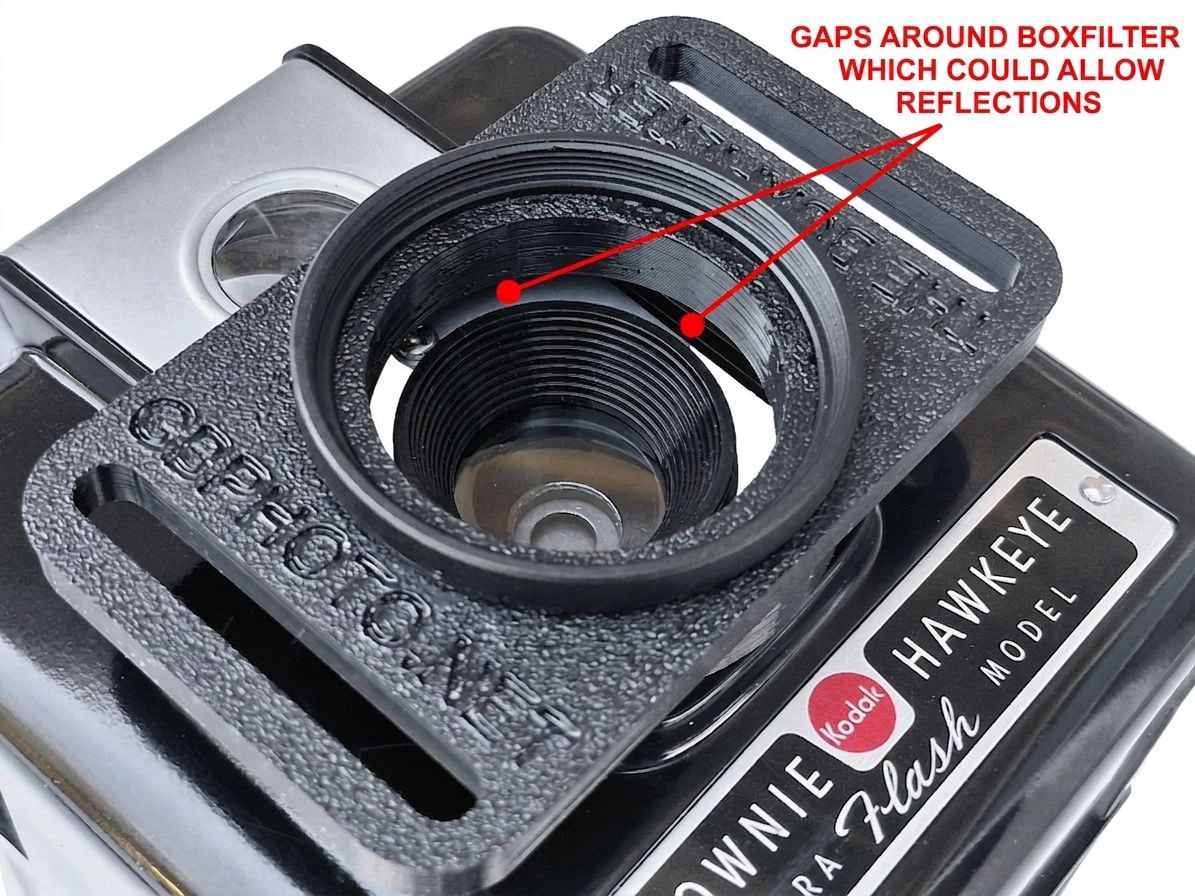
If you need to cut the spacer, first measure the diameter of the lens ring very carefully, and more than once. Some lenses have a bulky ring or enclosure around them, which may be curved, etc. What’s important is the frontmost area; the actual ring-shaped surface on which the flat spacer will rest. The spacer hole should be about 4mm (5/32”) smaller in diameter, allowing approximately 2mm of overhang for strength.
Also take note of the size of the lens opening itself. A 2mm inward overhang is usually well out of the lens’ field of view, but may need to be adjusted based on test pictures. (We always recommend doing test pictures when using the BoxFilter for the first time, which will be described later.) The goal is to achieve a light-tight seal and secure mechanical connection, without causing vignetting in the images by protruding into the view of the lens.
Some cameras may be best fitted by trimming the spacer so it seals around the outside of the lens ring, thus staying completely out of the image path.
Keep in mind that you can always cut more material away, but you can’t add it back. Therefore, don’t be too aggressive or hurried when cutting the spacer. Take it slow and steady.
When you are satisfied with your measurements and ready to cut, do so with a very sharp X-Acto or similar craft knife, taking all proper precautions. Use a cutting board or other flat item, understanding that it will be marked by the blade.
Once finished, trim off any small burrs or threads, and continue on to the next step.