Instructions 4

Securing your camera to the BoxTopper - Procedure

Loosen Clamps
Loosen Clamps

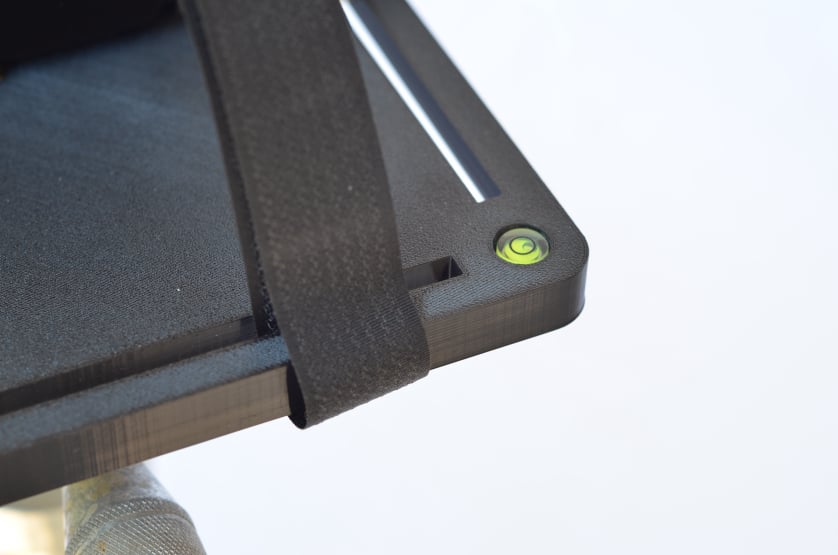
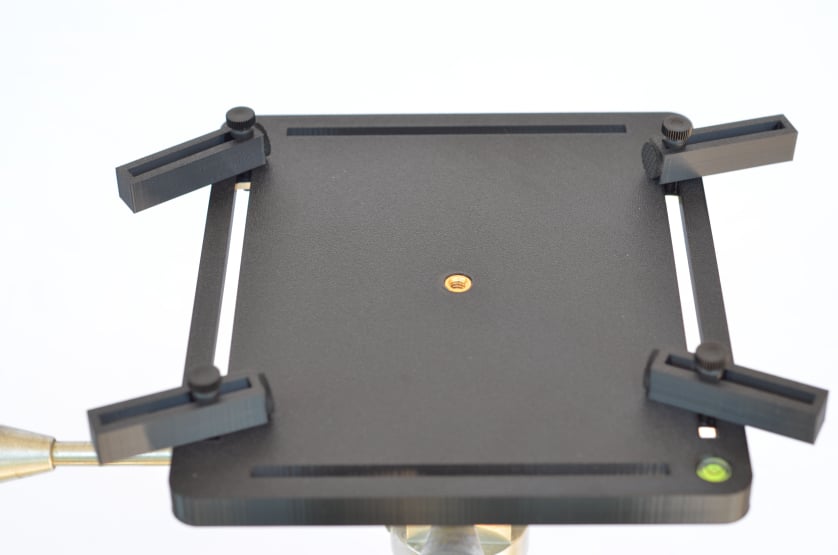
Stand behind the tripod as you would to take pictures. With the BoxTopper secure and level, loosen the thumbscrews on the 4 clamps just enough so that they can slide within the slots.
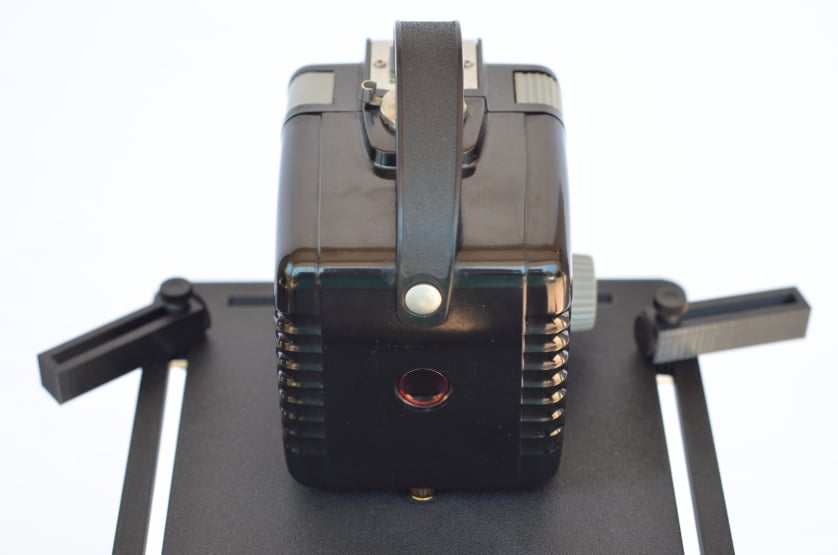
Position Camera
Position Camera

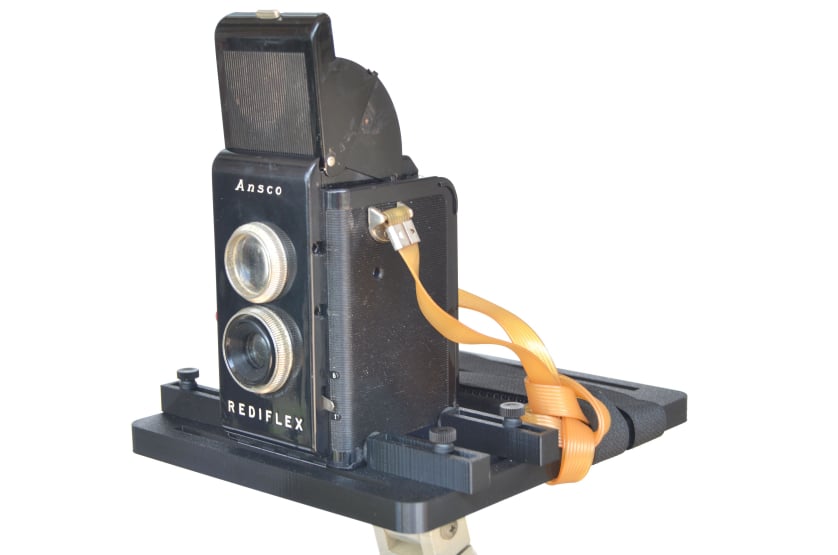
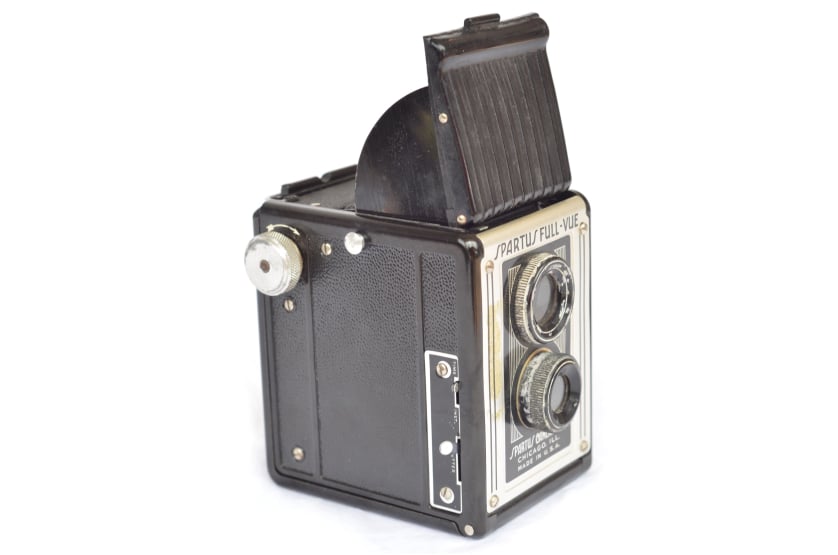
Place your camera centered horizontally (left to right) on the BoxTopper board, with the lens facing forward, away from you. Slide it forward so that the lens is even with the front edge of the BoxTopper, or slightly over it. This is so that the BoxTopper itself will not appear in your image.
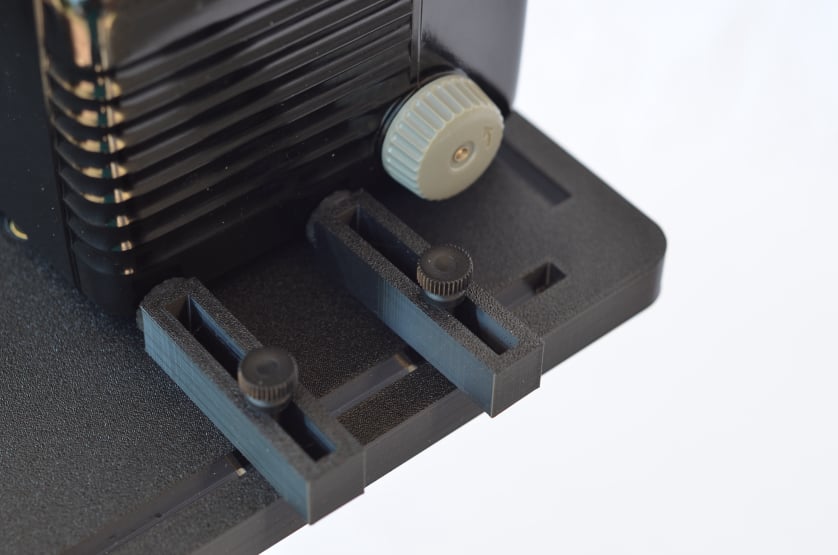
First Set of Clamps
First Set of Clamps

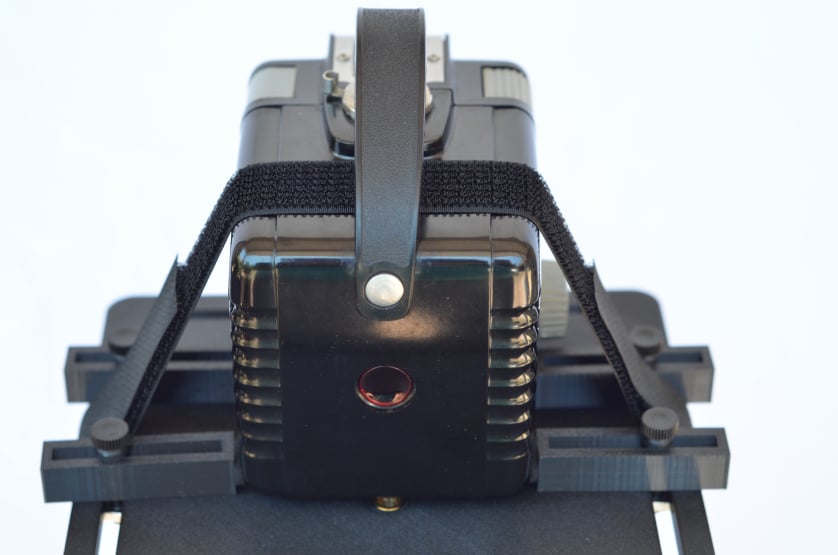
The next step is to secure the camera with the clamps. When finished, they should be positioned as straight across from each other as possible so that they are applying direct pressure between them.
Often one side of a camera will have more obstructions on it than the other, such as a winding knob etc. If so, begin placing the 2 clamps on that side, keeping them away from such obstructions.
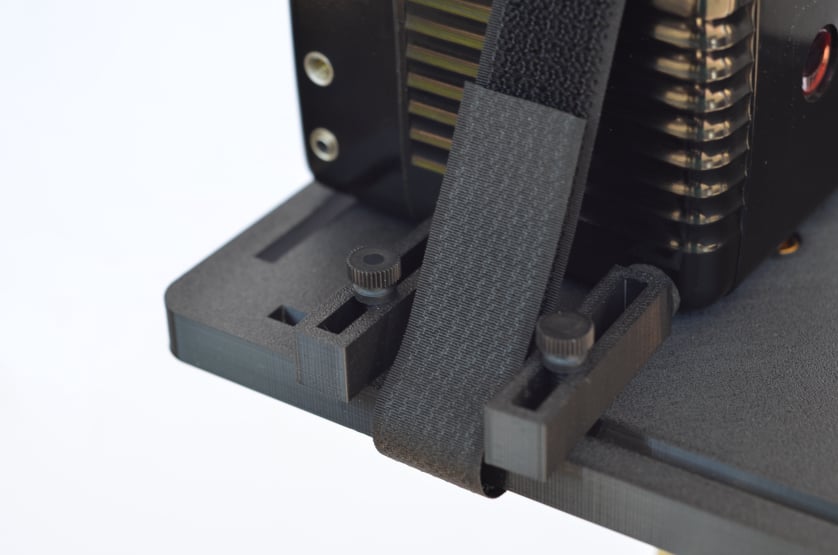
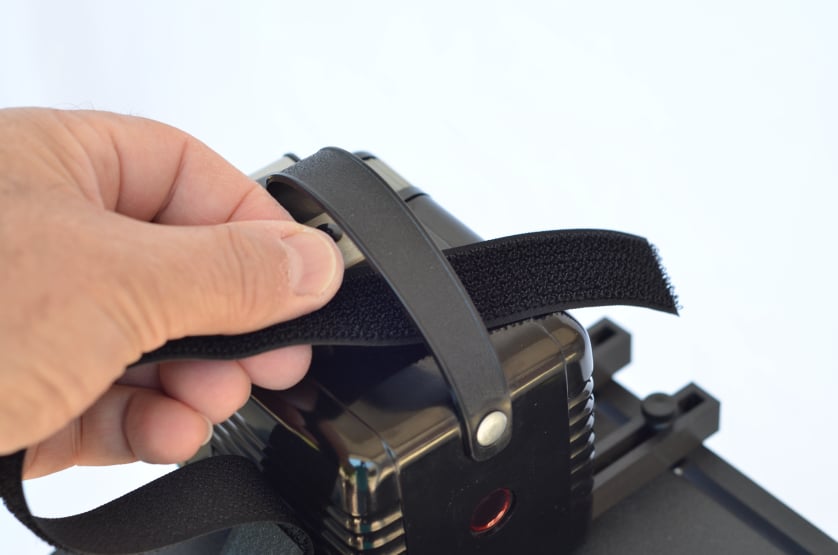
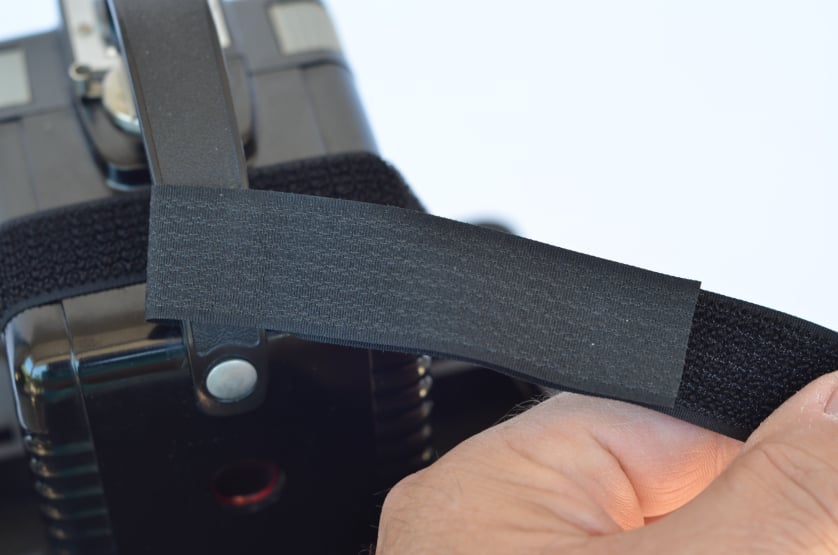
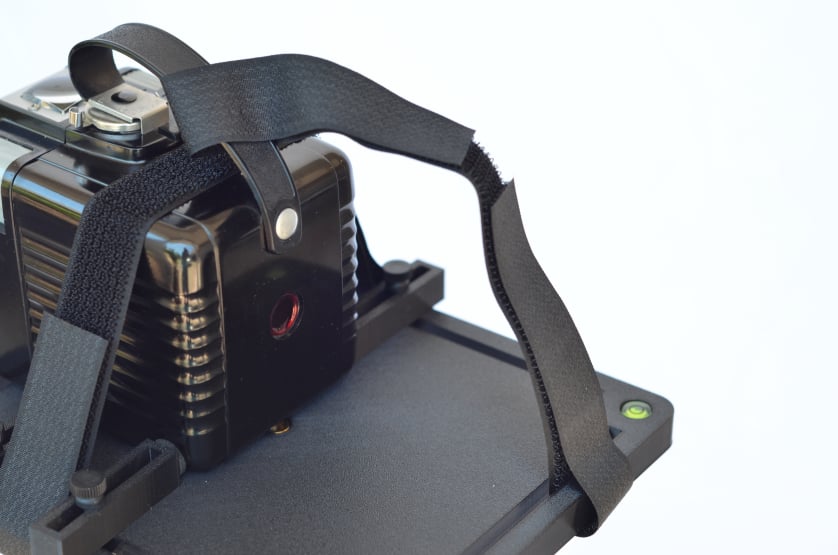
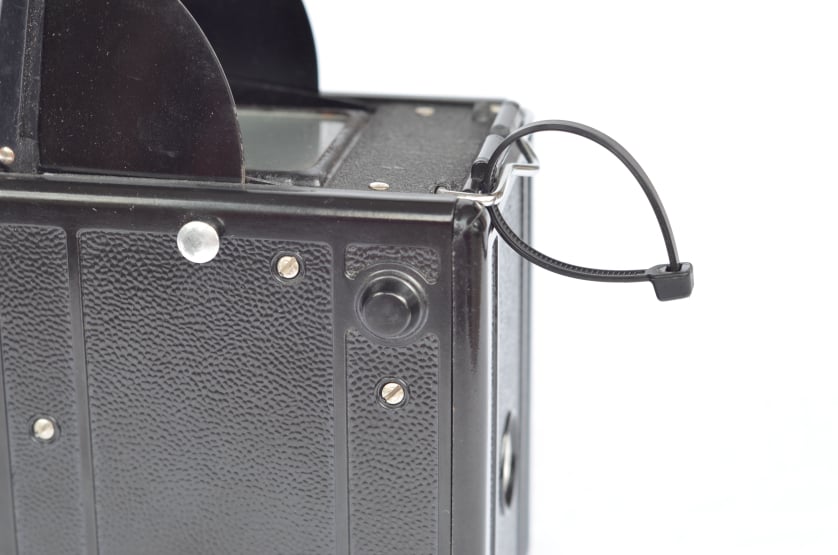
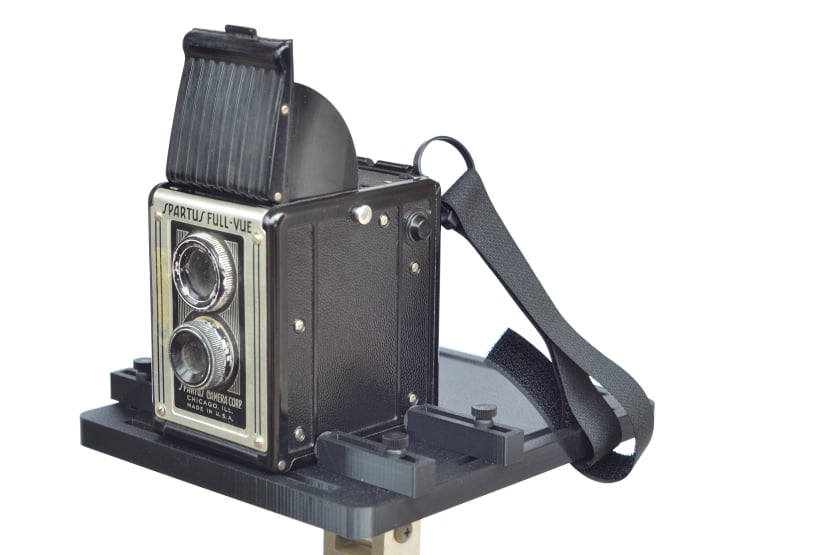
While holding the camera in place, move two of the clamps so that they are spaced as far as possible along the side of the camera, while still having a solid surface on which to contact. If your camera will allow the use of a hook and loop strap running across its top, then leave enough space between the clamps for the strap if possible.
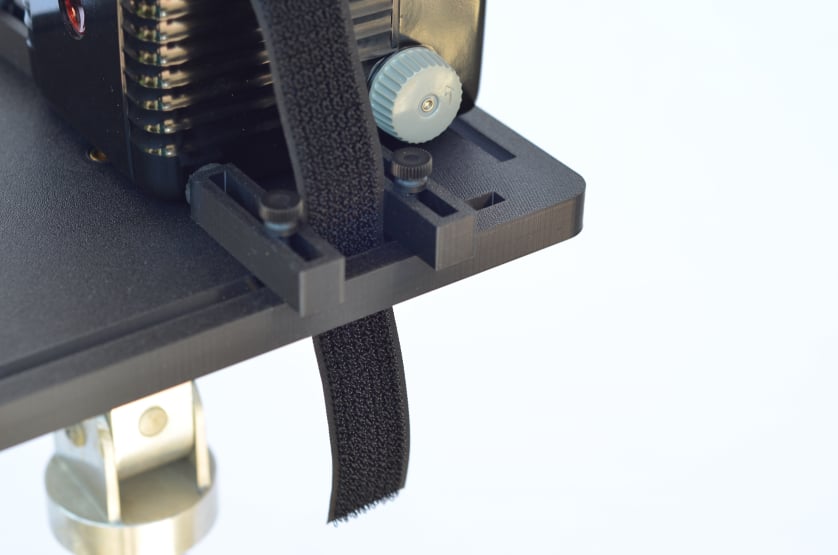
Once properly spaced, slide each clamp until it lightly touches the camera, and tighten each thumbscrew firmly.

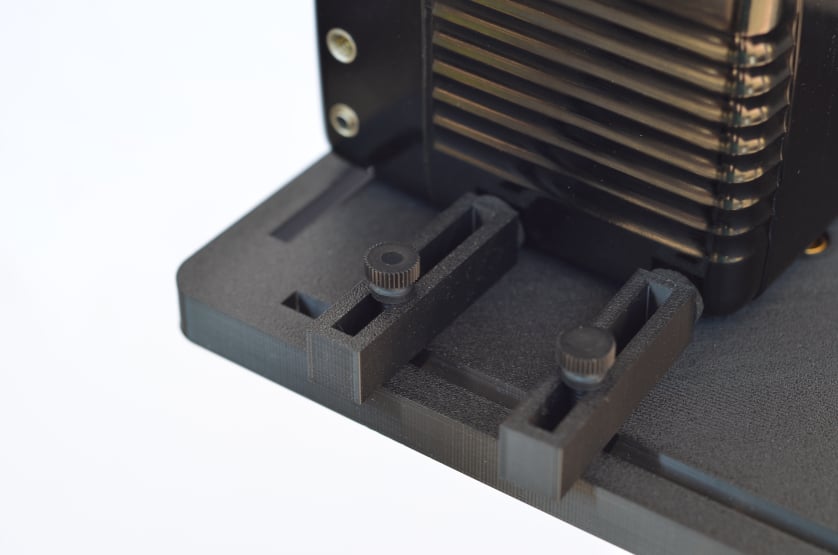
Second Set of Clamps

On the other side, align the two clamps so that they are as directly across from the others as possible. While holding the camera FIRMLY in position, slide each clamp so that it touches the camera, then press it tightly against the camera so it grips well. The goal is to compress the foam pads, but not put so much force that the camera is damaged. While maintaining pressure, tighten the thumbscrew firmly. Repeat this with the second clamp. Afterwards check to make sure the clamps are gripping tightly, and if they are not, press and re-tighten them as needed. The clamping procedure will get easier with practice.
Some cameras have curved or angled shapes. In order to accommodate them, the clamps may be tightened at angles, as long as they are gripping the camera securely. 

Hook and Loop Strap - Step 1

If you are using a hook and loop strap, hold it with the smooth side down and place it so that it will be centered over the body of the camera when attached, and doesn't interfere with any camera controls. Insert one end downward through the slot so that about 3” extends below the board. 

Hook and Loop Strap - Step 2

Bring the strap up and over the outside of the board, pressing it firmly onto itself, making as much contact as possible. 

Hook and Loop Strap - Step 3

Place the strap over the camera. Ideally if the camera has a strap of its own, or a handle/loop on top, running the BoxTopper strap through it provides an extra measure of security.

Hook and Loop Strap - Step 4

Once placed across the top of the camera, pull it tight, insert it through the slot, and press it firmly onto itself as you did on the other end. 

Hook and Loop Strap - Finished

The goal is for the strap to secure the camera tightly, without damaging it in any way.
The correct amount of tension on both clamps and straps will vary depending on the type of camera you are mounting. Cameras made of metal, plastic, or Bakelite are stronger than, for example, an old box camera made of cardboard. Use caution when mounting such cameras, or any camera which may have any sort of delicate projections, knobs, etc.

Hook and Loop Strap Safety Line - Connect to Camera

Regardless of whether the camera is mounted with straps, clamps, or both, we recommend always having a safety line on it as well. This can be the camera's own strap or one of the BoxTopper's hook and loop straps, as shown in these images. Either method should prevent the camera from falling to the ground if accidentally knocked off. 
Here the hook and loop strap is being secured to the camera's top handle.

Hook and Loop Strap Safety Line -  Connect to BoxTopper
Hook and Loop Strap Safety Line - 
Connect to BoxTopper

Secure the other end of this strap into a BoxTopper slot as you did the other one. Take out the slack, but DO NOT pull it tight, as you don't want to move or dislodge the camera.

Hook and Loop Strap Safety Line -  Finished
Hook and Loop Strap Safety Line - 
Finished

As you can see, the safety line provides an additional layer of protection against the camera falling should it be knocked loose.

Clamp-Only Mounting
Clamp-Only Mounting

As you can see here, some cameras like this Ansco RediFlex simply cannot be secured with a hook and loop strap due to the layout of the camera’s viewfinder and/or controls. These cameras can only be held by the clamps, which is much less secure than having a strap too. In such cases, extra care must be taken not to knock the camera over, nor to tilt the BoxTopper more than a few degrees from level. Also, the use of a safety line is even more important! Shown here is the camera's own strap being used as a safety line. It is tied through one of the BoxTopper's slots.

Clamp-Only, No Strap or Handle

Like the RediFlex, the Spartus Full-Vue camera does not allow a hook and loop strap for mounting due to its large viewfinder and placement of the winding knob. Therefore, only the clamps will hold it. In addition, this one is missing its original strap. In such cases, look for a loop, rivet, or other secure point to which a cable tie or sturdy cord (not included) can be attached.

Cable Tie Installed
Cable Tie Installed

The Spartus has a metal clip which holds the back closed. The clip's left end is the perfect location for a cable tie. Putting it there does not interfere with the function of the clip at all, and keeps everything far away from the winding knob on the right side of the camera.

Hook and Loop Safety Line In Place

The cable tie provides a solid attachment  point for connecting the hook and loop strap. The other end is secured to the BoxTopper slot as normal. Here the leftover length was simply tucked up through the slot as well to keep it from hanging loose.

© Copyright 2024 Greg Bunch / GB Photographic
All Rights Reserved

Drag & Drop Website Builder