As previously mentioned, it is critical to determine in advance how to mount your camera(s) on the BoxTopper, and to practice actually doing so. Every type of camera is different, so mounting each one will also be different, plus you may have your own mounting preferences as well. The BoxTopper’s clamps and straps provide an almost unlimited degree of flexibility, so feel free to move them around, place them, and adjust them in order to provide the most secure connection possible.
The clamps and straps come installed in the slots on sides 2 and 4, but can be easily relocated. Moving a strap is simple! Just pull apart the hook and loop connectors on each end, pull the strap out of the slots, then install it at the location you want using the previously described procedure.
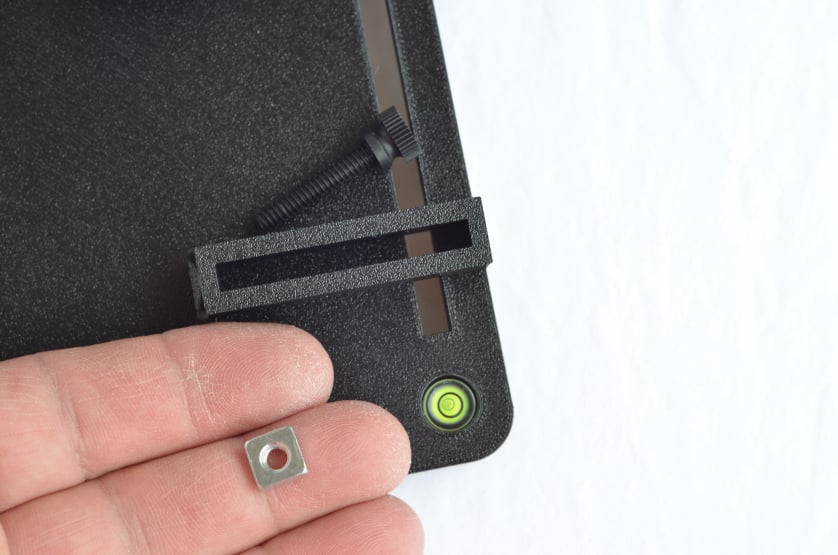
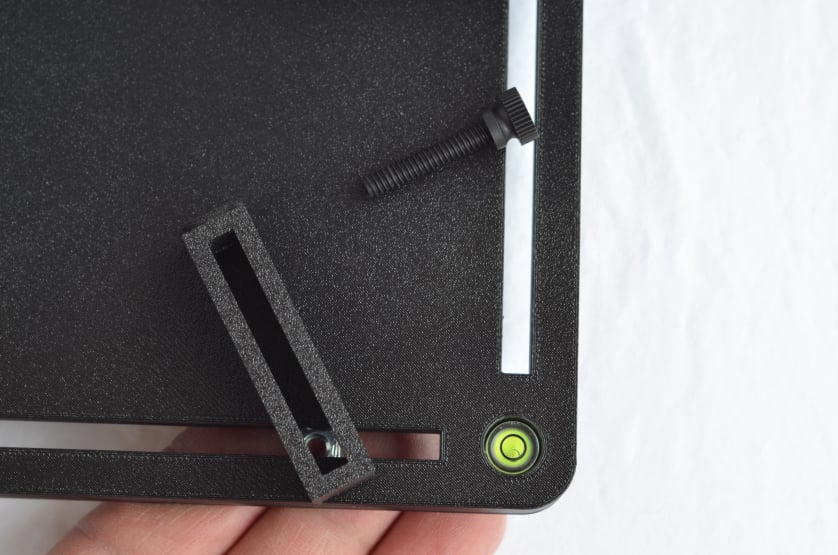
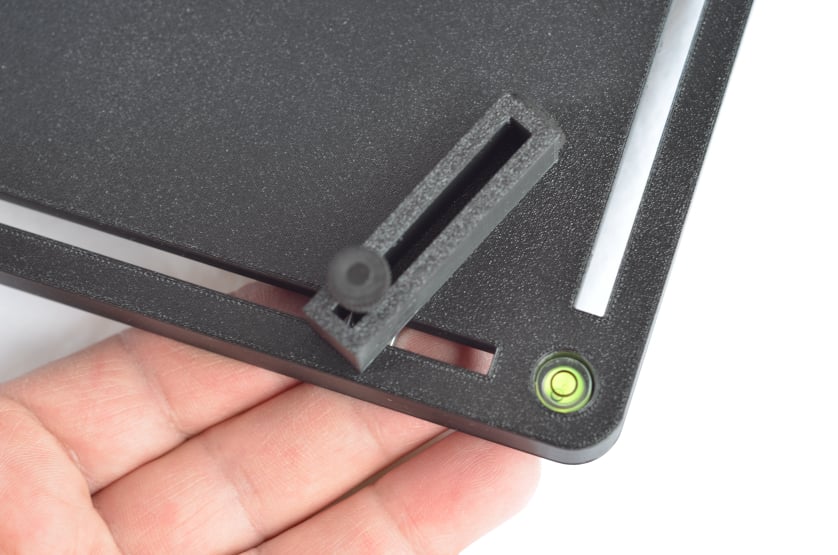
To move a clamp, refer to the steps below. Make SURE your hand is below the clamp to catch the nut, preferably over a suitable work surface. Then simply turn the thumbscrew counterclockwise until the nut falls free into your hand. At the new location, insert the nut squarely up into the underside of the slot, then hold it there, making sure it is flat against the inner underside of the slot. Place the clamp directly over it, then thread the thumbscrew down through the clamp and into the nut. The thumbscrew should thread into the nut easily. If it resists at all, then STOP IMMEDIATELY because it is cross-threaded! Unscrew it and start over. NEVER force the thumbscrews into the nuts, or they will be stripped.
NOTE: THE BOXTOPPER USES SQUARE NUTS ONLY. SHOULD A NUT BE LOST, DO NOT REPLACE IT WITH A HEX SHAPED NUT! Using a hex nut will damage the inside of the slot. Square nuts, while not as common, are available at hardware suppliers. You can also contact us should you need a replacement nut or any other part.